ClariCalc Pro Projects
This page describes certain ClariCalc Pro features that are of interest to people working on or contributing to projects. [▼]If you wish to have these features, then you need to (1) buy and install a ClariCalc Pro license, and (2) choose the installation option for Projects.
CPM Schedule
ClariCalc can help you create a Critical Path Method (CPM) Schedule in the graphical format shown here:

To create the schedule, you start by making the menu choice Add-Ins | Insert | Miscellaneous | CPM Schedule Table. ClariCalc will then insert a mostly blank version of the table shown below. After you have written information about project activities, predecessors, and durations, click on the words, “CPM Schedule”. ClariCalc will use the information in the table to create the CPM schedule.
| CPM Schedule | Starts: | today | |
 Code |
Activity Description | Predecessors | Duration (weeks) |
| a | Plan | 6 | |
| b | Fund | Plan | 28 days |
| c | Equip Docs |
Fund | 5 |
| d | Equip Delivery | Fund | 17 |
| e | Early Engr |
Fund | 4 |
| f | Final Engineering |
c; e | 8 |
| g | Civil Constr. |
f | 4 |
| h | Construction, above ground |
d; Civil | 10 |
| i | Road Block |
3/1/2018f | 3/29/2018 |
| j | Civil IFC | f | 0 |
If you color a description cell or insert a line break into a description, the same color and line break will display in the schedule graphic. So the schedule could look like this:

There is more information about the Critical Path Method here.
Photo Proofsheets
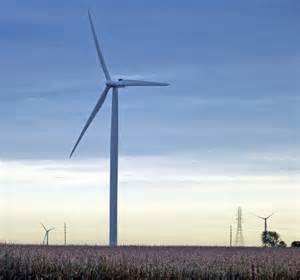
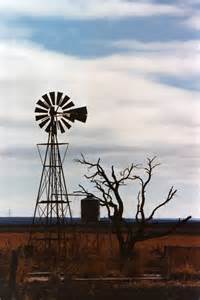
Say that you have a subdirectory full of photograph files. ClariCalc Pro can automatically create a proofsheet of those photographs like the one shown below. All you have to do is click on the button Add-Ins | Insert | ClariCalc Pro | Proofsheet…
In the next dialog box, select the photos you want to display and ClariCalc will create a table like this one:
 |
 |
 |
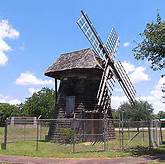
| indiana-windmill.jpg | old-farm-windmills.jpg | palm-springs-windmills.jpg |
 |
 |
 |
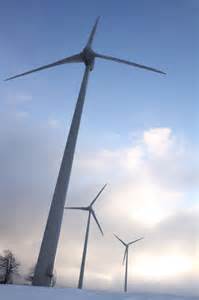
| victoria-windmill.jpg | winter-wind.jpg | zaanse-schans-windmills.jpg |
| C:\Users\user_id\Pictures\Windmills\ | ||
The table will contain links to the photos, not a copy of each photo file. That way your Word document's size will not get too large.
The links will all be relative links, so if your Word document gets moved or copied, the links will stay good, so long as the photos and the Word document both move together.
Quantity Takeoffs
Here's a way to ease the organization of a quantity takeoff.
1. Invoke the command "Add-Ins | Insert | Miscellaneous | QTO Table."
This table will appear:
| Rev | Note | Account | Component | Description | Qty | Units |
2. Write in the main components of your estimate, like this:
| Rev | Note | Account | Component | Description | Qty | Units |
| IS | Instrument Shelter | |||||
| CF | Compressor Fdn | |||||
3. Select one of the descriptions.
4. Invoke the command "Add-Ins | Show | QTO Reminders."
This dialog box will appear:
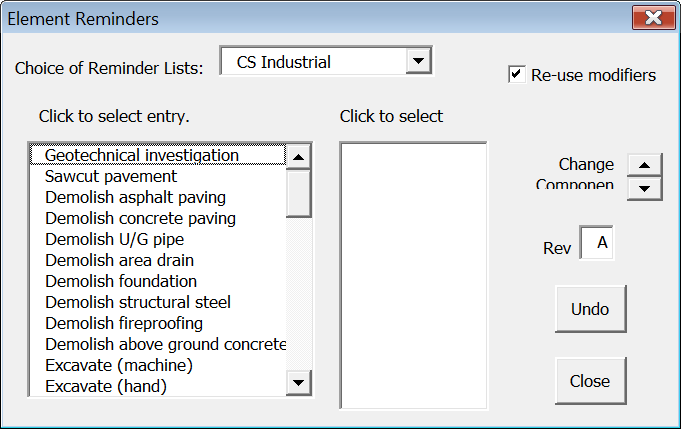
Click on the list, and an entry will appear in your quantity takeoff. Click some more, and you'll get more entries. Some entries are a multi-step choice to accommodate types and sizes. For such multi-step entries, you'll have to click in the second list to select the entry modifiers.